Prerequisites
1. Apply for IDA storage space, or join an existing CSC project, that has IDA access.
Upload Data
2. Log in to the IDA service with your web browser. (See recommended browsers. IDA can also be used with command line tools.)
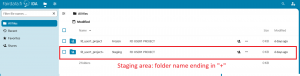
3. You have two folders in IDA for each CSC project. Open the folder name ending with “+” (eg. 2000142+). It is the staging area (read/ write) which is intended for collecting and organizing research data in preparation for storage in the frozen area and inclusion to a published research dataset.
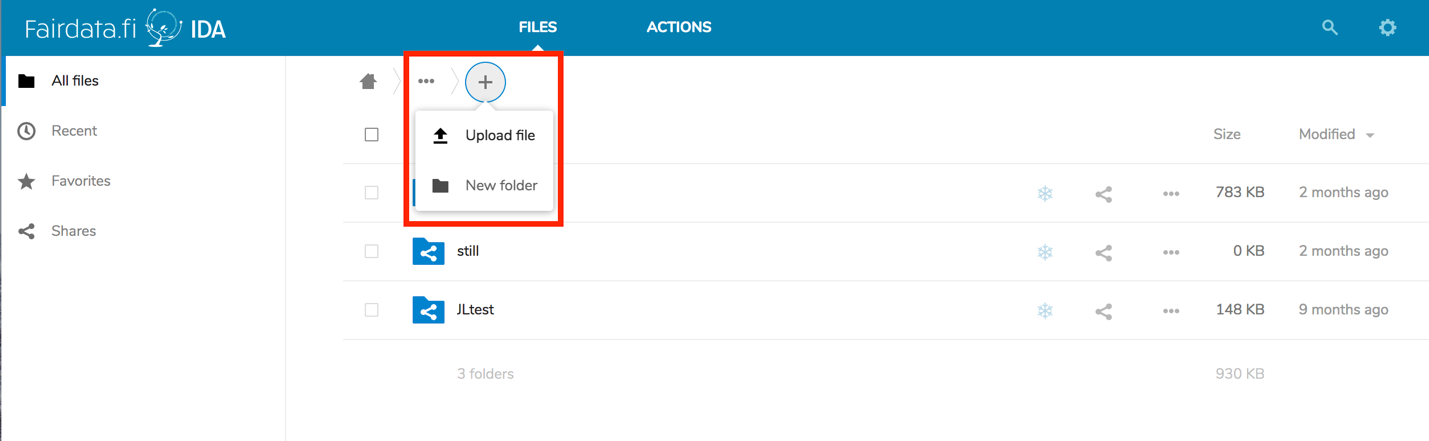
4. Move to the staging area by clicking it. Upload your new data simply with drag and drop, or Click the “+ New” button at the top of the view, then click “Upload files”.
We recommend using common, open file formats. Consider also digital preservation requirements, if applicable. Read more about file formats and organizing your data.
 Optional: After uploading, you can share your data by creating a temporary external share link. Note, temporary external share links can NOT be published, used in citations or as public download links.
Freeze Data (Make data immutable)
When you would like to turn stable research data to an immutable state to publish it,
1. Click on the ellipsis (“…”) menu located to the right of the file or folder name.
2. From the menu, select the option “Freeze”. Confirm it by clicking the ‘Freeze’ button in the dialog that opens.

The frozen data transfers to the folder with no suffix in the name. It is the frozen area (read-only) for storing stable research data in an immutable state.
NOTE: Files are not stored persistently in the IDA service until they are frozen.
Publish your frozen data
Publish your frozen data by including it to a dataset description with Qvain description tool. Access to the published data can be set as open or restricted. By using the Qvain description tool, you will obtain a DOI (persistent identifier) for your dataset. Use it when publicly citing your data.
See the full IDA User Guide for further details regarding the IDA service.
If you have any questions about particular features, or any other issue relating to the service, please contact IDA support at servicedesk@csc.fi